
Create a List Selector Field in a Widget Designer in Sitefinity 6.2
[9/25/14 update] See Hardy's comments below for necessary updates to my steps when using Sitefinity 7.1 and up. Thanks, Hardy!
Scenario
I am designing a fairly simple widget in Sitefinity (version 6.2, but this probably applies to other versions as well) that will display a simple FAQ list. The FAQ list has two major parts: 1) a "table of contents" type ordered-list at the top that lists each question and links to the answer further down the page, and 2) the list of questions with the answers below them.
Approach
I wanted to create a simple Sitefinity list that would contain the FAQ content (questions and answers). The default fields for a Sitefinity list are Title and Content which are really all I needed to collect a Question and Answer for a FAQ item.
So, my widget, after being placed on a page, would only need to allow a content author to simply select the FAQ list they had created earlier. The widget would then find the list, collect the items in the list and display them.
Solution
My solution would involved a widget designer control and a customized FlatSelector field. Here's an overview with details below.
Overview
- Create a Sitefinity MVC widget with a single "List" field that will contain the list GUID
- Create a Sitefinity widget designer for this MVC widget with a single FlatSelector field
- Update the FlatSelector ItemType field
- Update the FlatSelector ServiceURL field
- Update the FlatSelector DataMembers
- Update the widget designer Javascript to choose the list ID
Details
For some reason, Sitefinity widget designer documentation is really hard for me to find. Maybe I'm the only one. Maybe Sitefinity needs to put some more dollars toward good documentation! Anyway, after some searching and some trial and error, I found this page giving me an idea of how I should accomplish what I was trying to do: Sitefinity article
To summarize, it tells you how to create a widget designer with Sitefinity Thunder and then change the generated control to point to some of the generic content types (like Lists). However, it didn't have all the details I needed. I had to troubleshoot and that's why I'm writing this post.
Step 1: Create the Widget
Below are the details for how I setup my MVC widget. Translate the various tasks for the same effect if you prefer a WebForms widget.
Using Sitefinity Thunder, create your widget. Don't create the designer at this time. I like using MVC widgets but there's no reason this won't work with a WebForms widget. I called my widget "FAQList".
Step 1.1: Update controller properties
Remove whatever properties Thunder automatically adds on the MVC controller and add your own List property of type Guid.
[Category("Widget Properties")]
public Guid List { get; set; }
Step 1.2: Update widget view model
I added a simple POCO to describe each FAQ item (containing a question and answer) and then added a list of these POCOs as the only property on my view model.
public class FAQListModel
{
	public List<FAQItem> Items { get; set; }
}

public class FAQItem
{
	public string Answer { get; set; }
	public string Question { get; set; }
}
Step 1.3: Update Index action
Update the Index action to use the List property to access the content-author-chosen list, pull the items and stick them in the model.
public ActionResult Index()
{
	var model = new FAQListModel();

	if (List != Guid.Empty)
	{
		model.Items = App.WorkWith()
			.List(List)
			.ListItems()
			.Get()
			.Where(li => li.Status == ContentLifecycleStatus.Live)
			.Select(li => new FAQItem { Question = li.Title, Answer = li.Content })
			.ToList();
	}
	else
	{
		model.Items = new List<FAQItem>();
	}

	return View("Default", model);
}
Step 2: Create widget designer/public
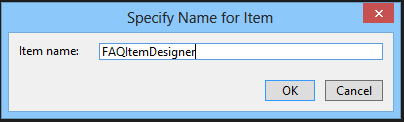
Once your widget is created, you can create your widget designer. Using Thunder, create a widget designer for an existing widget. Name your widget designer. I use the name of the widget and append "Designer".
Click "Next" on the next screen. Choose your FAQItemController from the list on the next screen.
Step 2.1: Choose widget designer fields
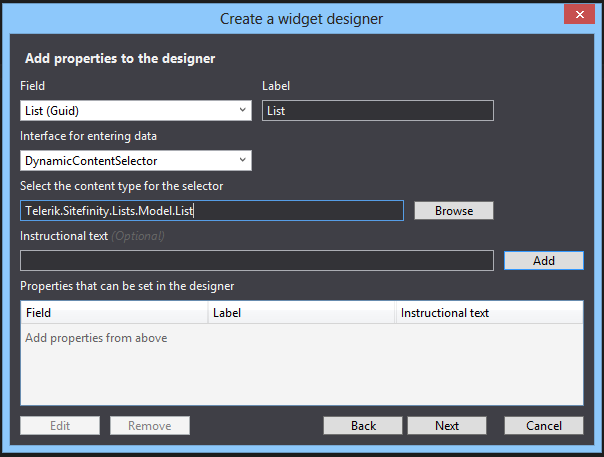
Next, choose the List property from your controller and set it up as follows. Especially note two things. First, choose the DynamicContentSelector. Second, update the "Select the content type for the selector" to 'Telerik.Sitefinity.Lists.Model.List'. Click on "Add".
Step 2.2: Update generated widget designer files
In the generated .ascx file, update the 'ServiceUrl' property on the FlatSelector control to '/Sitefinity/Services/Lists/ListService.svc/?managerType=&providerName=&itemType=Telerik.Sitefinity.Lists.Model.List&provider=&sortExpression=LastModified%20DESC&skip=0&take=50'.

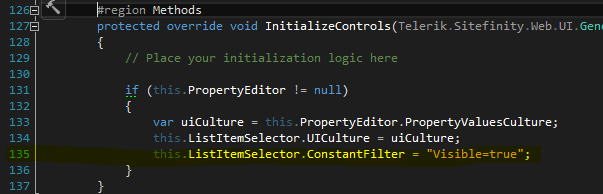
In the generated .cs file, remove line 135 that sets the ConstantFilter property to 'Visible=true'.
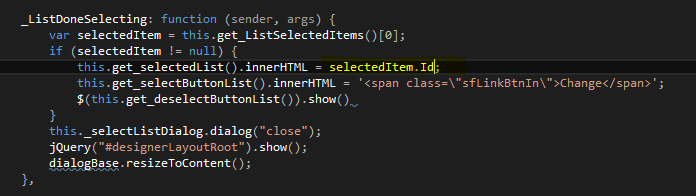
Finally, in the generated .js file, change the property that is used as the value of the selected list from 'OriginalContentId' to 'Id'. This code can be found in the '_ListDoneSelecting' method.
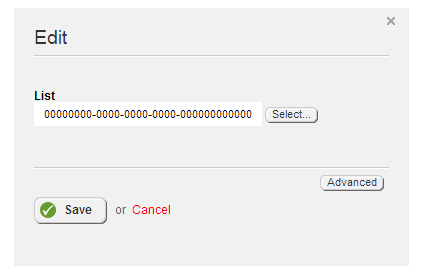
At this point, you should be done! Build your project, plop your new widget on a page and test it out! Here's what mine looks like.
The edit dialog:
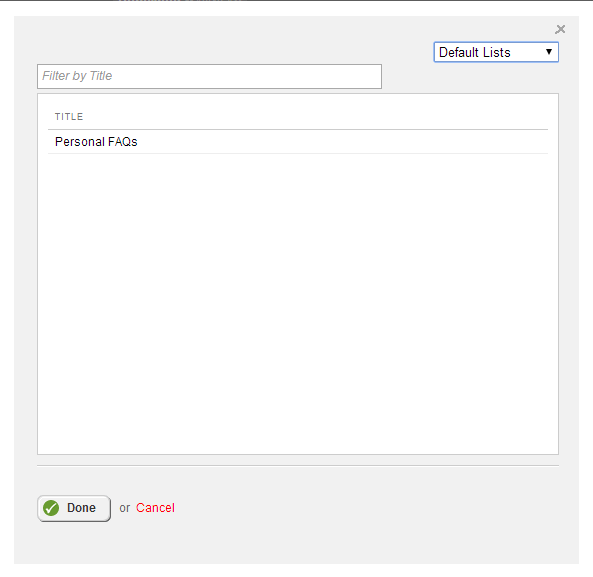
The list select screen:
The selected item screen:

Comments